A Rainy Afternoon Cardboard Marble Run, Without the Glue
Build a cardboard marble run without glue by arranging channels, testing turns and adjusting supports, so the route stays easy to change as you play.
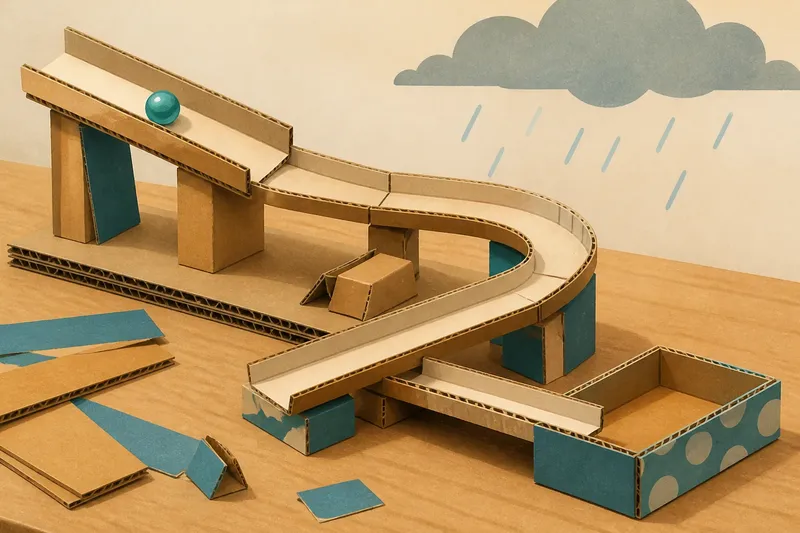
The common mistake with a cardboard marble run is to build a long, elaborate route before checking whether the first turn works. Then a marble shoots off the table, and the whole design needs rebuilding. A glue-free run is easier to improve if you treat it as a temporary layout: arrange clean cardboard pieces, let gravity move the marble, and change one section at a time.
This approach suits a tabletop experiment, not a permanent toy. It needs only cardboard, a marble and a level surface; the useful work lies in choosing a route that can be adjusted without fastening every joint.
What makes a glue-free cardboard marble run manageable?
Without glue, the run depends on contact, balance and support. A track section must sit securely enough for the marble to pass, yet remain loose enough to move when a turn or slope needs changing. Think of each piece as a movable part rather than a finished assembly.
Use clean, dry cardboard with no food residue, sharp staples or torn, splintery edges. A small marble is a choking hazard, so keep it away from young children and supervise play; choose a larger ball if that fits the user and the available materials. Keep the run on a table with clear space around it, rather than near a stair edge or breakable object.
For ordinary household materials, follow any relevant product label or manufacturer instructions, and use local safety guidance where it applies.
Which cardboard pieces are useful for the route?
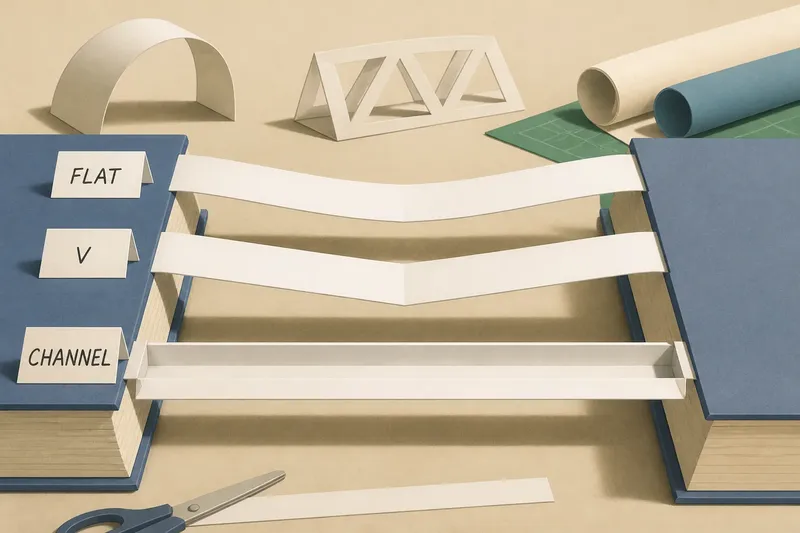
Start with a shallow channel. A strip cut from a cereal box or another thin carton can be bent lengthwise into a U-shaped trough. The raised sides keep the marble on course, while the bottom gives it a smooth path; if the cardboard springs flat, pinch a modest crease along each side and open the channel again.
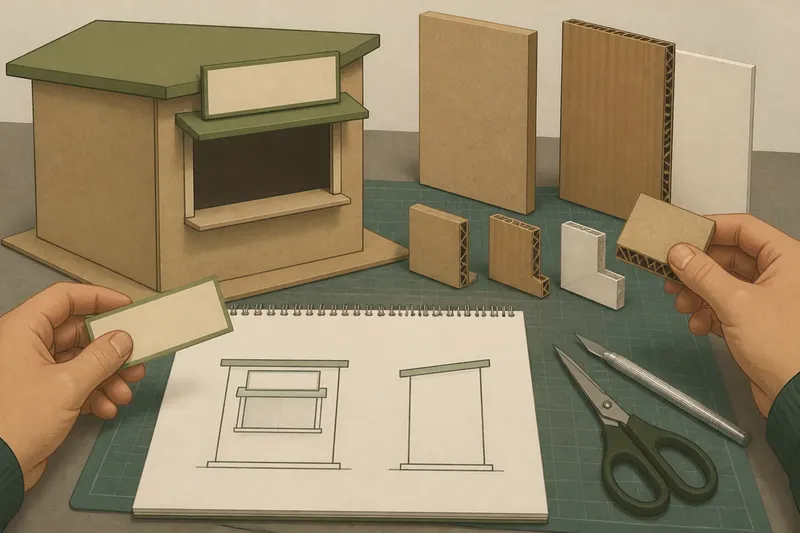
Corrugated cardboard can serve as a broad platform or a support under a track. Its fluted interior makes it stiffer in one direction than another, so a flat scrap may wobble if the load runs across a weak span. For this temporary build, avoid making tall, narrow towers: low supports are simpler to reposition and less likely to tip.
Keep several different scraps within reach, but do not cut a large collection before the layout is clear. A short channel, a broad base and a few small wedges often provide enough variety to discover what the route needs.
How should the route be planned before the marble rolls?
Choose a start point and a finish point that are both easy to reach. Leave a clear landing area at the end, and place the finish away from the table edge. Then sketch the route as a sequence of simple pieces: a starting slope, a straight run, one turn and a catch area.
Keep the first layout short. Each extra join is another place where the channel can separate, dip or shift sideways. A route with one gentle curve can teach more than a complicated maze, because it makes the effect of each adjustment easier to see.
Support the track close to its joins. If one piece rests on another, align their edges so the marble meets a smooth transition rather than a raised lip. A narrow gap may catch the marble; an overlap can make a bump. Shift the pieces until the surface looks continuous from the marble’s point of view.
Say you have a cereal-box channel, two flat scraps and a marble. You could rest the channel between the scraps, with one end slightly higher, then place a second channel at the bottom as a catch tray; if the marble leaves the first section, move the supports closer together or reduce the slope before adding a new turn.
How can turns and slopes be adjusted?
Gravity supplies the motion, but the track shape decides whether that motion stays useful. A steeper slope may give the marble enough momentum to leave a turn; a shallow one may let it stall at a join. Change the height in small increments by sliding a folded scrap beneath a support, rather than rebuilding the route around a guessed angle.
For a turn, keep the channel sides continuous and avoid an abrupt kink. A wide curve can be made by gently bending a thin strip, or by setting two short straight pieces at an angle with their ends meeting. The second option is easy to revise, but check that their inner edges do not form a snag.
If the marble runs too quickly, try a flatter section or a longer route before adding obstacles. If it stops, check for a raised edge, a sagging joint or a flat spot before increasing the slope. A clear cause makes a useful adjustment; adding random bumps usually makes the result harder to read.
Move only one support or joint between rolls. That makes it easier to tell which change affected the marble’s path.
What should you check before each run?
- Channel width: Is there room for the marble to roll without wedging between the sides? If not, open the channel or use a wider strip.
- Side walls: Do both edges rise enough to guide the marble through the turn? If one edge has collapsed, re-crease or replace that section.
- Joins: Do adjoining pieces meet without a sharp lip or open gap? If not, shift their overlap or bring the supports closer.
- Support balance: Does each platform rest flat rather than rock when lightly touched? If it wobbles, widen its base or lower the track.
- Route slope: Does the marble move through the straight section without rushing off or stopping? If not, alter the support height gradually.
- Landing area: Is there a clear place to catch the marble at the finish? If not, move the route inward or add a shallow cardboard tray.
These checks are not a demand for a perfect build. They help distinguish a route problem from a loose piece, so the next change can stay small.
Why does a marble leave the track or stop?
A marble that flies outward at a bend is often carrying too much speed for the shape of that turn. Reduce the slope before the bend, broaden the curve or raise the outer wall slightly with a tucked-in strip. If the channel itself has shifted, steady its support first.
A marble that stops at a join may be meeting a lip, a gap or a sag. Look along the track at marble height: a smooth-looking route from above can hide a step at the seam. Reposition the pieces so the bottom edges align, then try the same release point again.
If the run works once and fails on the next roll, check whether a support has slid. Cardboard can flex under a moving load, especially when a piece rests on a narrow edge. Widening the contact area is usually more useful than adding height.
How can you keep the layout easy to change?
Keep each section short enough to lift and move independently. Use simple overlaps and resting supports instead of weaving pieces together; the aim is a route that can be rearranged without dismantling everything upstream.
Make a small “parts corner” beside the run for spare strips, wedges and the marble. It prevents loose scraps from drifting into the path and gives you somewhere to place a piece while adjusting a joint. If a section repeatedly causes trouble, set it aside rather than forcing it into the layout.
When the route reaches a satisfying finish, you can still leave it temporary. Record the arrangement with a quick sketch or a photograph if you want to rebuild it later, and note which support positions matter. That preserves the useful idea without turning a rainy-afternoon experiment into a permanent fixture.
What do readers ask about a cardboard marble run?
Can a marble run work with no glue?
Yes, if the route stays low and its pieces rest securely against one another. Use overlaps and broad supports, then adjust the layout whenever a section slips or catches the marble.
What can replace a cardboard channel?
A folded carton strip can form the trough, while a shallow cardboard tray can catch the marble at the finish. The channel should have smooth sides and no loose fasteners or rough edges.
How do you stop a marble escaping at a turn?
Try slowing the marble before the bend by reducing the slope, then make the curve broader or the side wall taller. Change one feature at a time so you can see which adjustment helps.
How long should the route be?
Begin with a short route containing a straight section and one turn. Add another section only after the existing joins guide the marble reliably, so new problems do not obscure the first ones.
A glue-free cardboard marble run is most rewarding when the route remains readable: one start, a few clear transitions and a finish that catches the marble. Keep the pieces movable, and each roll can answer a practical question about slope, support or shape. That is enough to make an ordinary scrap of cardboard worth keeping on the table.